

Animal Jam What Happened To The Anchient City?

The Mystery Below is an Adventure available to all Jammers. It was released on November 30, 2017, and is currently accessible through the Take chances Bill of fare and Forgotten Archive. The original adventure was modified and a "difficult" mode was released on May 24, 2018.
Walkthrough
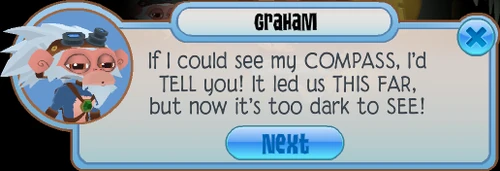
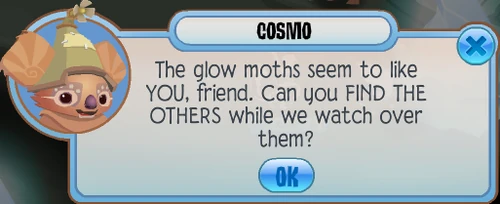
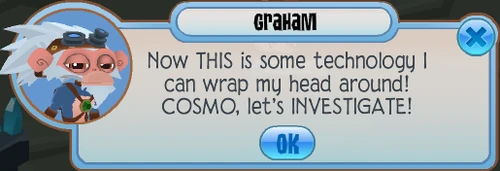
- Kickoff, the player will be met with Cosmo and Graham at a Zios gate.
- Click on a mushroom looking fungi to go Light Blossoms, a fruit like to Boomseeds.
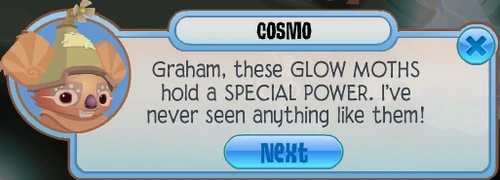
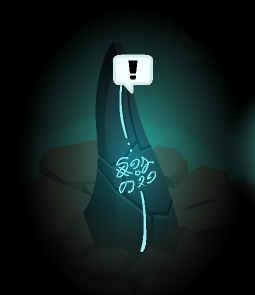
- Take a light blossom and drop it on a crystal. A moth will appear, attracted by the light of the crystal.
- Lead it towards a door with Zios' mask imprinted on it.
-
-
Click Expand to view -
-

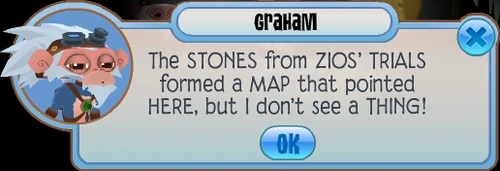


- And so, the player has to guide 4 moths to the door.
-
-
Click Expand to view -
-


-
- The bottom right moth route has red crystals that the moths will exist attracted to. Destroy those.
- The road to the meridian moth will take rocks in the manner of the crystals, also equally the moth being trapped in a rock with light existence emitted from the cracks.
- The route to the left has mushroom bridges that are activated by dropping a light blossom on them and are broken apart onto islands past chasms.
- Throughout the map, there are stones with strange runes on them that can be illuminated with calorie-free blossoms. When lit, they display messages to the player.
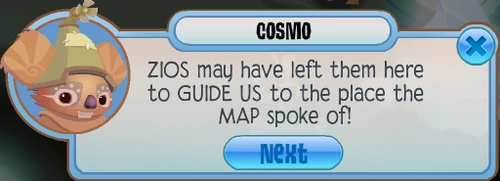
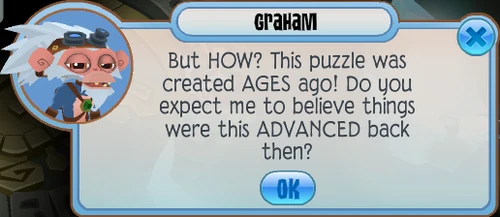
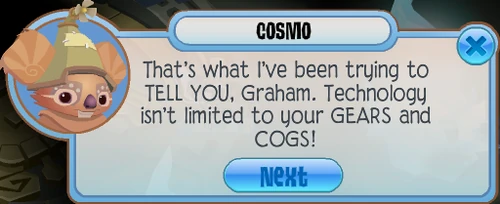
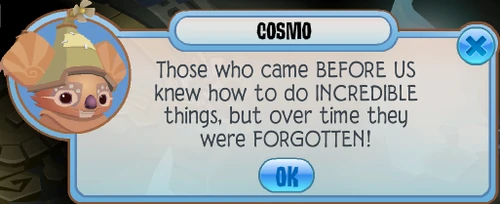
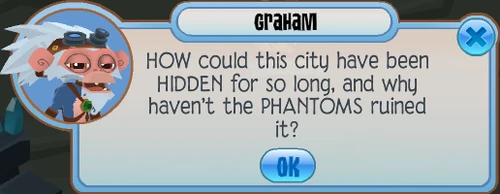
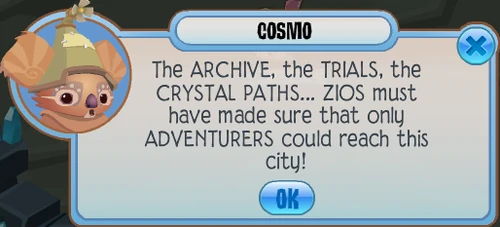
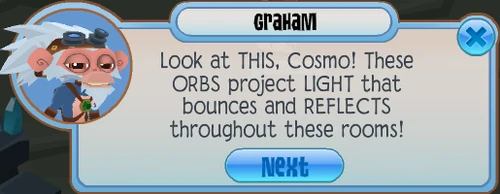
- In one case all the moths take been guided to the fundamental crystals, Cosmo and Graham will engage in conversation.
-
-
Click Aggrandize to view -
-

- Open up the door and it reveals a staircase leading down; once clicked, the histrion will be transported to some other flooring.
- In this room, the player has to light the room using torches left on the ground. Lighting the room will reveal a hidden city.
-
-
Click Expand to view -
-
- In the hidden urban center, the thespian will demand to turn on a low-cal source and solve a light puzzle similar to the ones with Spotbrights and mirrors.
- Later on solving the puzzle, the player will need to press iii buttons in 3 dissimilar areas within 1 minute.
- Upon pressing all 3 buttons, a door will unlock towards another puzzle similar to the one before.
- At the end of the low-cal puzzle, the Adventure is consummate.
Adventure Rewards
Adventure Completion
The following rewards can exist obtained past finishing the adventure:
| Treasure Chest | Normal Mode | Difficult Mode | ||
|---|---|---|---|---|
| Top Left |  | Ancient Chair |  | Aboriginal Wall Hanging |
| Top Middle |  | Ancient Sofa |  | Ancient Stepping Stones |
| Top Right |  | Ancient Lamp |  | Ancient Lamppost |
| Bottom Left |  | Ancient Carpet |  | Ancient Fountain |
| Bottom Right |  | Aboriginal Welcome Mat |  | Ancient Writing Desk |
Animal Passages
At that place are certain special treasure passages that can only be unlocked by a specific blazon of animate being:
| Snow Leopard But | |||
|---|---|---|---|
 | Ancient Chaise Lounge/Ancient Ruins | This passage is located in the centre of the lost city correct afterwards the three pressure plates. Information technology is just below and to the left of the first crystal bulwark, after passing through information technology. | 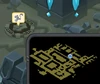 |
| Chill Wolf Only | |||
 | Ancient Tabular array/Ancient Wall | This passage is located near the end of the gamble and the player has to go around the room with the Obelisk, as information technology is backside it. (Normal) This passage is located near the bottom of the lost city at the end of the risk. It is but below and to the left of the second crystal barrier, before passing through it. (Hard) | 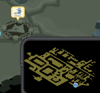 |
Other Prizes
In that location are a number of additional prizes that can be obtained from various treasure chests:
| Prizes | Location | ||
|---|---|---|---|
 | Ancient Hanging Lantern | This chest is located along the summit of the glow moth cave. It tin can be accessed by activating a series of glowing mushrooms to form a span. | 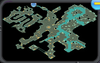 |
 | Ancient Armoire | This chest is located in a hidden passage at the bottom of the glow moth cave. |  |
 | Ancient Vanity | This chest is located near one of the calorie-free puzzles at the kickoff of the lost city expanse. It appears when an alternate crystal is activated with the calorie-free instead of guiding the light to finish the puzzle. |  |
 | Aboriginal Ruins | Optional Boulder after getting Boomseeds. Where the Arctic Wolf Passage is in Normal (Hard) | 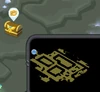 |
 | Ancient Wall | Alternate Crystal afterwards Button Surface area (Difficult) | 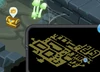 |
| | 150/300 Gems | At the bottom of the city (Normal)/Guarded by Flame Traps after the Push Surface area (Hard) | 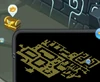 |
Courage Points
The minimum Backbone Points for completing this adventure under normal difficulty is approximately 1015 CP, while the maximum under normal difficulty is roughly 1868 CP. Under difficult difficulty mode, the minimum is approximately 1290 CP and the maximum is roughly 2253 CP.
| Risk Action | Required (Normal) | Possible (Normal) | Required (Hard) | Possible (Hard) | Courage Points |
|---|---|---|---|---|---|
| Smash Rock Barrier | 7 [i.1] | 96 | 7 [1.2] | 96 | two [2] |
| Blast Crystal Rock Barrier [3] | 3 | iii | iii | three | 2 [4] |
| Blast Fake Crystal Beacon | 3 | iii | 3 | 3 | 25 |
| Light Crystal Beacon | 33 | 33 | 43 | 43 | 25 |
| Light Rune Rock [5] | 0 | 23 | 0 | 23 | 25 |
| Light Mushroom Bridge | 6 | x | six | 10 | 5 |
| Light Brazier | three | three | iii | 3 | 5 |
| Destroy Phantom [6] | 0 | 0 | 0 | two | 25 |
| Boomseed Stone Barrier | 0 | 0 | 3 | iv | v |
| Destroy Phantom Sprouter | 0 | 0 | 0 | 4 | 5 |
| Disable Phantom Watchers | 0 | 0 | 0 | 1 | v |
| Destroy Phantom Turret | 0 | 0 | 0 | four | 5 |
| Open Crystal Barrier | 0 | 0 | one | i | x |
| Open Treasure Chest | 0 | 6 | 0 | 8 | 5 |
| Open Animal Passage | 0 | two | 0 | 2 | 25 |
| End Run a risk | ane | ane | 1 | 1 | 50 |
| Total Backbone | 1015 CP | 1868 CP | 1290 CP | 2253 CP | |
| Notes | |||||
| |||||
Trivia
- This Adventure is the 18th one to exist released.
- This Adventure introduced a new variant of seeds, Light Blossoms, that are found past Cosmo in the commencement.
- Before it was updated, the player had to exercise a lot more in the ancient urban center. At the end of the showtime light puzzle, the player would need to take hold of the Boomseeds that announced and break some boulders to get to the adjacent role. In the next department, the player would have to printing 3 buttons like the ones in The Trials of Zios in threescore seconds. In the first button room there were flame cracks like to the ones in The Trials of Zios, simply with a blue flame. The room after that had about v phantom spouts, and the last room had multiple phantom watchers. Pressing one of the buttons initiated the 60 seconds. After that, the thespian had to find one of the calorie-free sources and solve another light puzzle. Subsequently walking around solving it, the role player would come up across a glow moth. The actor would have to instantly follow it, because it would atomic number 82 to the hidden passageway with the key to unlock the door nearby. After finding the key and solving the 2nd light puzzle, the player would need to unlock the blueish crystal door. One time inside, the role player would demand to solve a 3rd calorie-free puzzle. When done, the light beam would have lead to the obelisk at the cease.
- This was brought dorsum equally the Hard Mode for the hazard.
- The messages from the sometime residents of the ancient metropolis were originally in the form of paper scrolls, but these were replaced with glowing stone tablets when the adventure was updated.
- There were many mirror glitches when the hazard was get-go released, but these were later fixed when the adventure was updated and made shorter.
- Like virtually new adventures, this was initially only accessible via the Parties List.
- The completed map of the glow moth cave is shaped like a moth.
Gallery
| Click Expand to view |
|---|
| Concept art of the Heartstone by Taylor Maw Concept fine art of the Heartstone by Taylor Maw Concept art of the Heartstone by Taylor Maw The chance seen in the Jamaa Journal. The difficult mode announcement The outset cavern area of the take a chance. Passage to The Underground City. The original hidden key that was used to unlock the second crystal barrier earlier the adventure was updated. The Heartstone embedded within a crystal at the terminate of the adventure. The Low-cal Blossoms The Glowing Stone Tablets Concept art of the Heartstone by Taylor Maw |
")
")
")
")
")
")
")
")
")
")
")
")
")
Glitches
| Click Aggrandize to view |
|---|
| A former glitch where a lost urban center puzzle mirror shines lite the wrong way. A former glitch where an obelisk path mirror shines light the wrong manner. Another one-time glitch where a mirror shines the light the incorrect style. A former glitch where a mirror continues shining calorie-free in one direction later existence rotated away. A one-time glitch with a default front-facing mirror. A glitch where the glow stone has lit up the room and attracted the glow moth, but isn't glowing itself. The spelling of find is spelt Observe. |
")
")
")
")
")
")
")
Source: https://animaljam.fandom.com/wiki/The_Mystery_Below
Posted by: hernandezplingers.blogspot.com
0 Response to "Animal Jam What Happened To The Anchient City?"
Post a Comment